
How to remove the Metadata from your images
Metadata is information attached to an image file at the point the camera shutter is fired. Sometimes it is useful to be able to remove or un-tag the metadata from an image. This workshop will show you how to remove the metadata from images when uploading to social media or for competition entries. The method used will not affect the metadata in the original image captured by the camera.
Please note:
This workshop has been created using Adobe Photoshop CS5 on a Windows based system, other operating systems may vary. It would be beneficial to read through the whole tutorial before you begin, to make yourself aware of any shortcuts that are mentioned, also some paragraphs are cross referenced.
The image below is a Jpeg file and has been sized ready for a club competition entry. If you are unsure how to go about this, please see the workshop on the club website, titled “THE PROCEDURE FOR THE PREPARATION OF PROJECTED IMAGES FOR CLUB COMPETITIONS”.

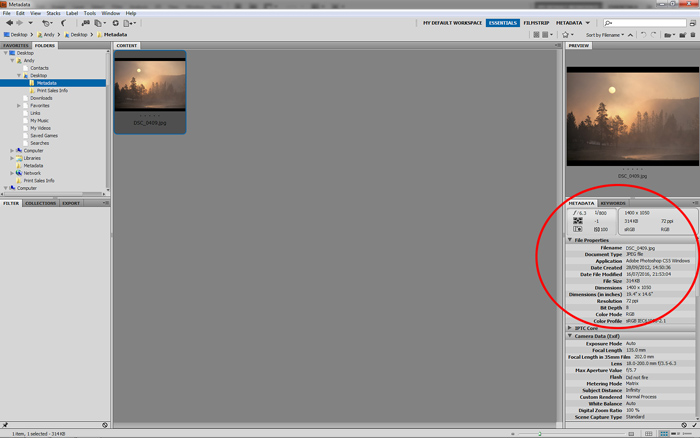
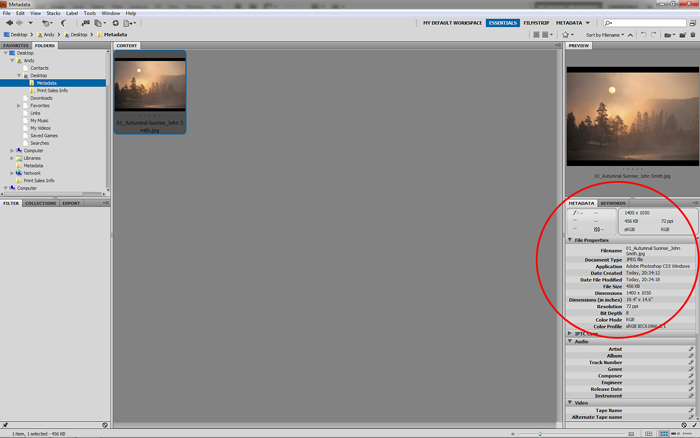
In its present state as a Jpeg image, this file still contains all the metadata captured at the time the camera shutter was fired. This data can be viewed in various locations, either in Adobe Bridge:
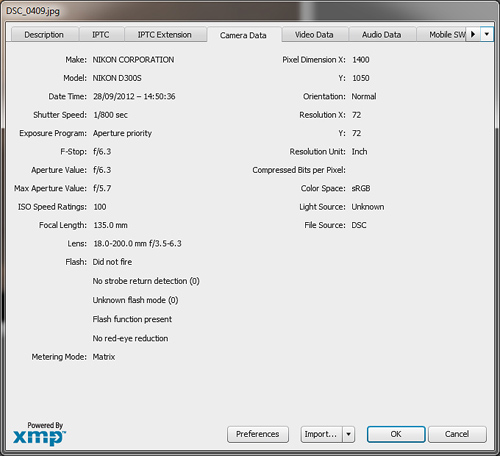
or in Photoshop, by going to, File > File Info or (Alt+Shift+Ctrl+I) on the keyboard, and clicking the “Camera Data” tab
How to remove the Metadata:
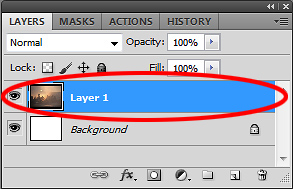
Step 1: Make sure your image has only a “Background” layer.
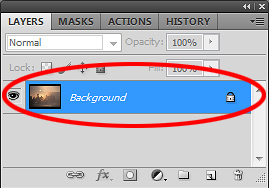
If you have more than a “Background” layer, then you need to flatten the image,
go to Layer > Flatten Image or use Flatten Image in the layers menu.
Step 2: Select all of the image by going to Select > All or (Ctrl+A) on the keyboard. At this point you should be able to see the “marching ants” around the perimeter of the image.
Step 3: Copy the selected image by going to Edit > Copy or (Ctrl+C) on the keyboard. This will copy the image to the clipboard.
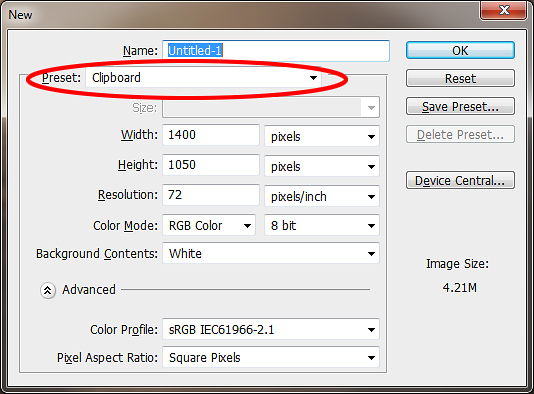
Step 4: Create a new file by going to File > New or (Ctrl+N) on the keyboard. This will bring up the New file box. The new file should automatically set the preset to “Clipboard”. This indicates that the new file will be the same size as the image you have just copied. If the preset doesn’t show “Clipboard” then click the dropdown arrow and select “Clipboard”. Ensure the image size shows
1400 x 1050 pixel. This will indicate everything is set correctly.
The image name is “Untitled-1”. So you now have the option to name your new image. At this point I now name my image ready for entry into club competitions: 01_Autumnal Sunrise_John Smith. If you are unsure how to go about this, please see the workshop on the club website, titled “THE PROCEDURE FOR THE PREPARATION OF PROJECTED IMAGES FOR CLUB COMPETITIONS”.
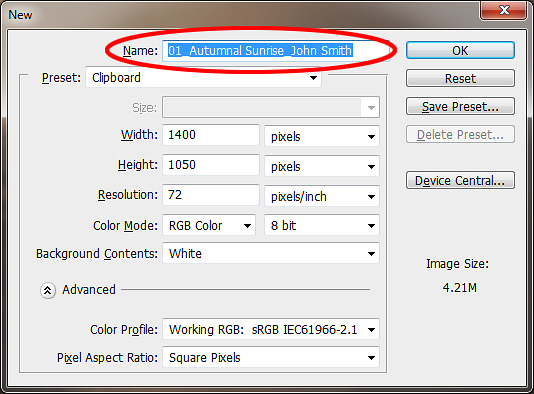
Once you have named your image, Click OK. This will bring up a blank white document in Photoshop with your image name.
Step 5: Now paste the image you have copied to the clipboard by going to Edit > Paste or (Ctrl+V) on the keyboard. Your image should now appear in the blank document.
This will create a new layer in the layers palette, so again you will need to flatten the image, go to Layer > Flatten Image or use Flatten Image in the layers menu.
Step 6: Once your image is flattened and only contains a “Background” layer, you can now “Save” the image.
The new image we have created will not contain any metadata from your camera or when the image was captured. It will only show the name, document type and size of the file and the date you carried out this workshop. You can see this by going to Adobe Bridge and selecting the new image, or by opening the image in Photoshop and going to, File > File Info or (Alt+Shift+Ctrl+I) on the keyboard, and clicking the “Camera Data” tab
Final Note: As we have created a “New” image within Photoshop this will not affect any of the metadata in your original image.
To download a printable version of this workshop, click on the links below