
How to open any Camera Raw image files when using discontinued versions of Abobe Photoshop, by Trevor Clowes.
In this workshop Trevor will explain how to Download and use the Adobe Digital Negative Converter.
Please note: It would be beneficial to read the complete workshop before you attempt to follow the procedure. If you would like a print out to read, please follow the links at the end of this workshop.
1.0 Introduction.
1.1 Camera Raw image files from different brands of camera manufacturers are incompatible and files from more recent camera models from the same brand of camera may be incompatible with those from previous camera models.
1.2 Adobe provides regular updates to the Photoshop Camera Raw Plug-in to comply with the most recent camera models issued. These up-dates, however, are only compatible with the most recent version of Adobe Photoshop Creative Suite. (CS4 as at September 09)
1.3 When older versions of Photoshop are used, attempts to open unsupported Camera Raw files results in a message “X Could not complete your request, because it is not the right kind of document – OK” (CS2).
1.4 To address this problem Adobe have developed a standard Camera Raw image file format called a Digital Negative with a .dng file extension. This format is supported with conversion software for free download of the program Adobe Digital Negative Converter, which will convert any Camera Raw file, from any manufacturer’s present or, with assured converter update support, future camera models, to a Digital Negative.
1.5 The software operates as a batch process addressing any folder containing Camera Raw image files.
1.6 Any version of Photoshop will open a Digital Negative image file.
1.7 Adobe pledges to support the Digital Negative for long term archive use.
2.0 How to obtain The Adobe Digital Negative Converter.
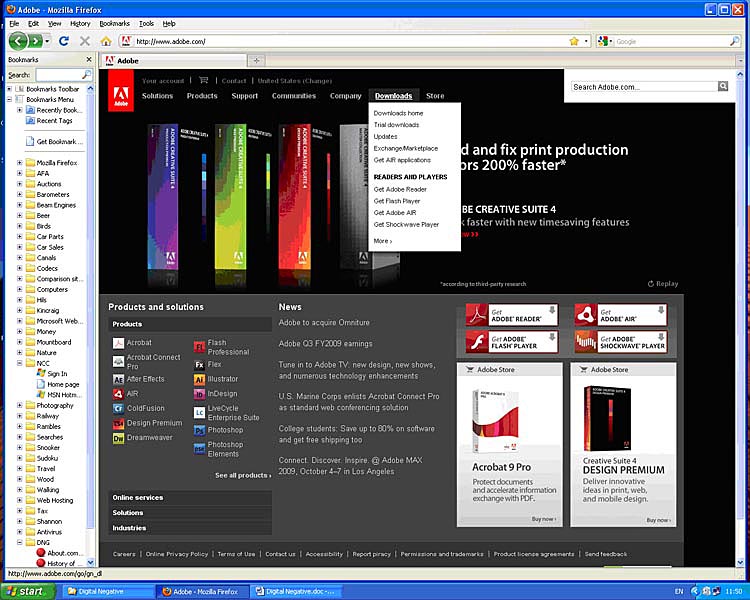
2.1 Visit the adobe web site www.adobe.com and you should see something similar to below. (As at September 09, but subject to site up-dates.)
2.2 Click on “Downloads” as shown below and from the drop down menu list select ‘more’ at the bottom.
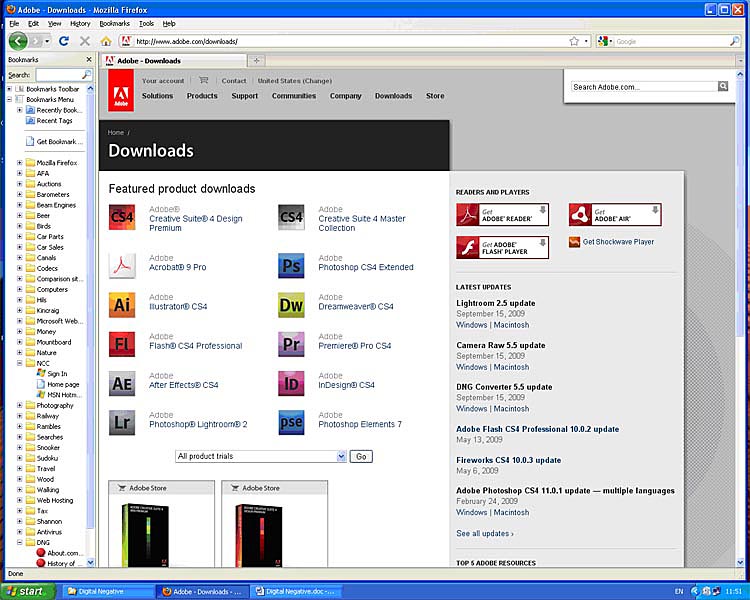
2.3 From the next screen below, select DNG Converter 5.5 up-date (or whatever the latest version is) from the right-hand list.
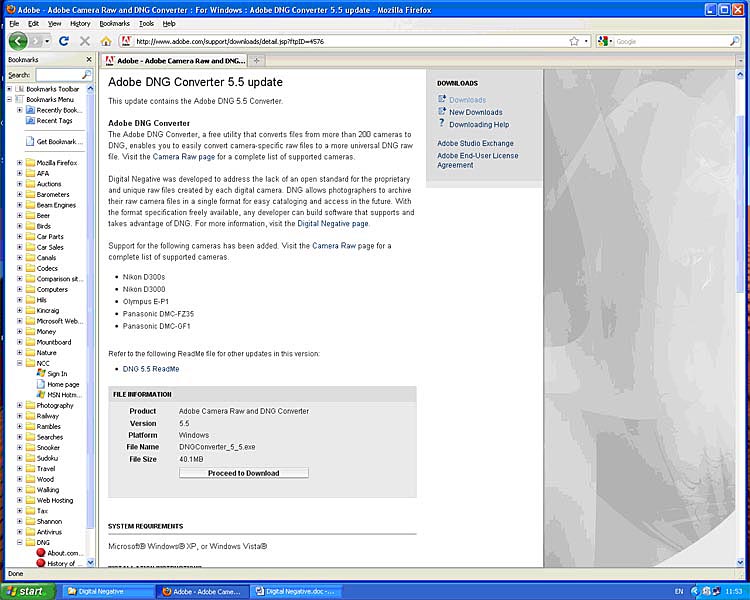
2.4 Now select “Proceed to Download” below.
2.5 Leading to “Download Now” below.
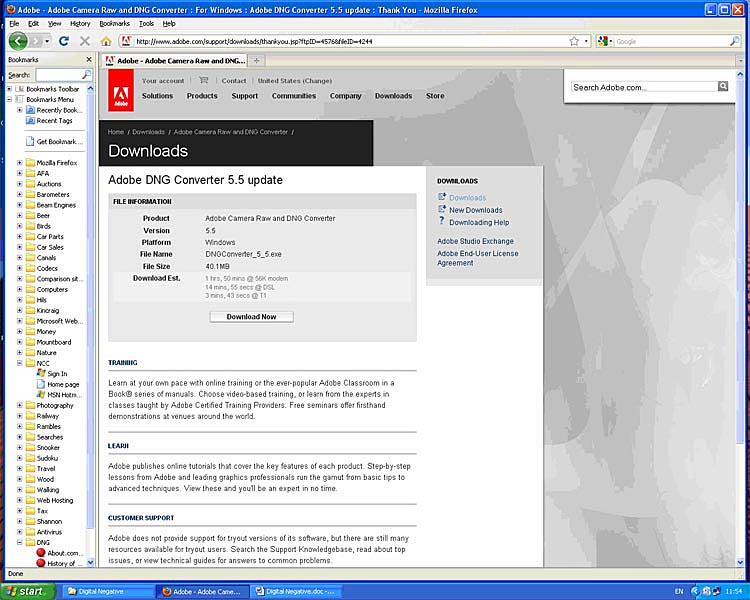
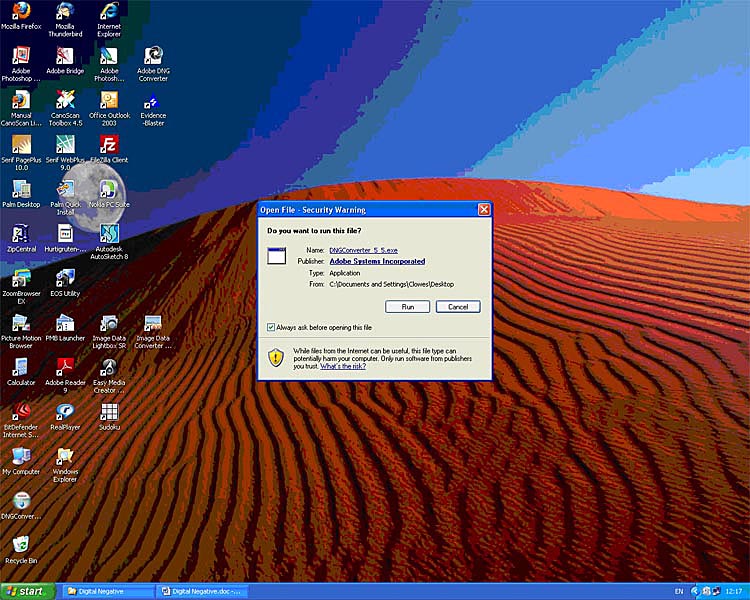
2.6 Depending upon how you have set up your browser the file will be saved to a folder or to the desk top. (The desk top option is shown below). Double left clicking the download will open the usual installer and selecting “Run” will add DNG Converter to your Program List.
3.0 How to to use the Adobe Digital negative Converter.
3.1 Shortcuts can be created by right clicking in the program list and selecting “create shortcut” in the usual way.
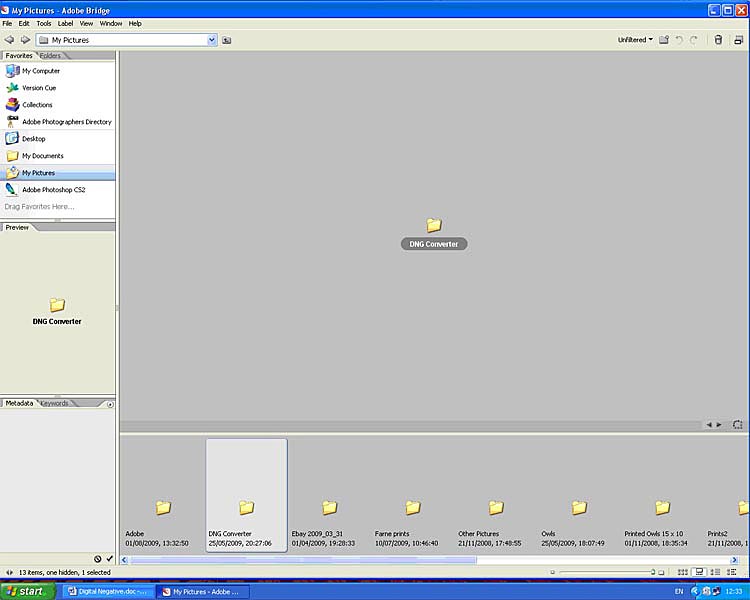
3.2 It is convenient to have a short cut dragged into a folder in “My Pictures” so that conversions may be carried out within “My Pictures” from Adobe Bridge as shown below. (Assuming that you choose to download images to a folder within the *My Pictures” folder).
3.3 Double clicking the program launches the converter as below
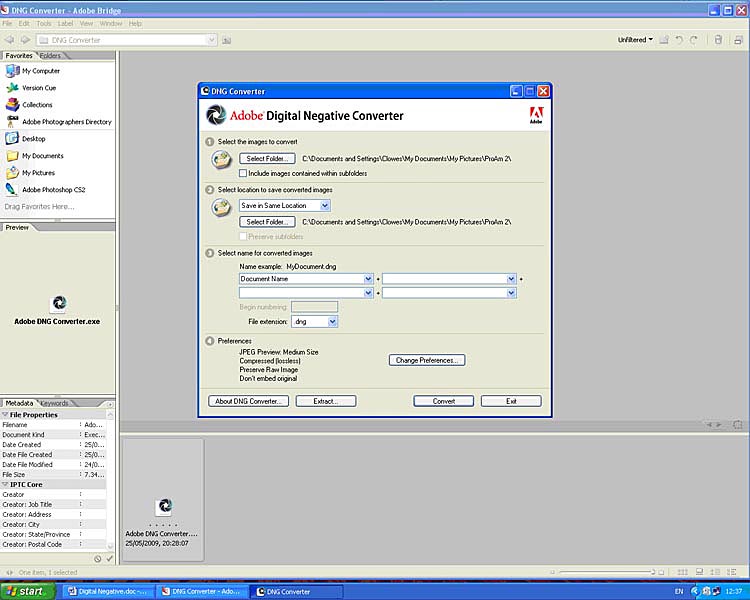
3.4 In use, browse to “My Pictures” in Window 1 “Select Folder”, then browse further to find the folder within “My Pictures” containing the image files to be converted.
3.5 Window 2 allows the converted files to be saved to a different folder of your choice to the originals as required. The default, do nothing, saves to the same folder as the originals.
3.6 Window 3 allows the re-naming of DNG image files with lots of pre-formatted options or personally inputted choice. The default, do nothing, creates DNG with the same name as the original, but with a .dng suffix file extension.
3.7 Preferences amongst other things allows the original RAW file to be embedded within the Digital Negative to allow future extraction if required. Metadata is normally fully transferred into the dng file, but embedding is a way to ensure that this happens if a problem is detected.
3.8 Pressing “Convert” starts a sequential batch process, with reported progress, for each RAW file in the selected folder, This creates an additional new DNG file, with a .dng file extension, for each RAW file in the folder selected to receive them (JPEGS and all other files in the folder containing the original RAW files are ignored). This process can take an appreciable amount of time, dependent upon the number of files to be converted and the processing power of your computer. Put the kettle on!
3.9 (N.B. From Windows version XP onwards file extensions are not displayed by default. To switch on file extension display go to My Documents > Tools > Folder Options > View > Advanced Settings, then un-tick “hide extensions for known file types” in the drop-down menu.).
To read a complete list of supported cameras and raw formats included in DNG Converter 5.5, or you would like more information on using the Adobe DNG Converter, please click on the link below to download the offical Adobe readme files.
Offical Adobe DNG Converter readme file
To download a printable version of this workshop, click on the link below
Adobe Acrobat Reader file
(292kb)