
Mount Cutting and Print Mounting (by Brian Sankey).
In this workshop Brian explains how he produces those superb quality print mounts.
Note: In this workshop, if you click on each image, it will link to a slideshow larger view, so you are able to see more clearly what Brian is doing.
1: The mount card in this tutorial was cut to 20 by 16 inches.
2: Never assume that your photograph or mount card is perfectly square.
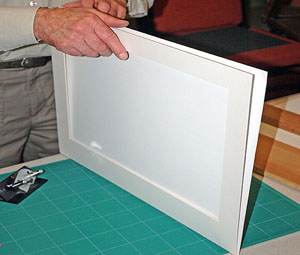
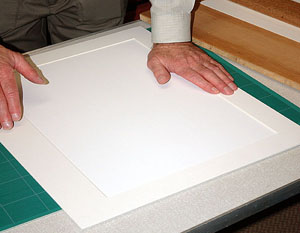
3: Place your white backing card and your overlay together, in what will be the correct orientation. If necessary trim the edges to obtain a perfect match.
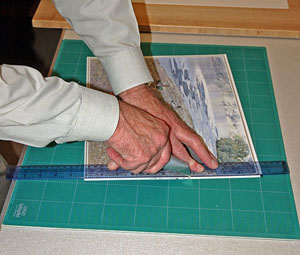
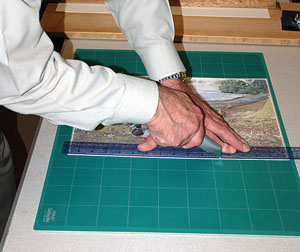
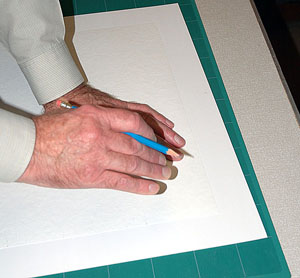
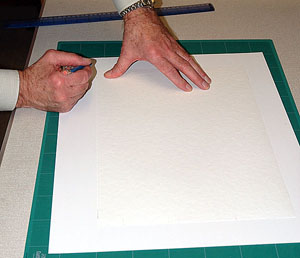
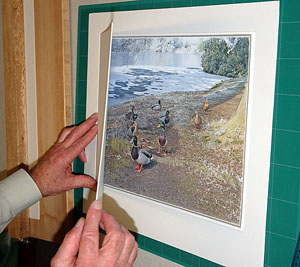
4: Trim the print back to its borders. See Figs. 01 and 02
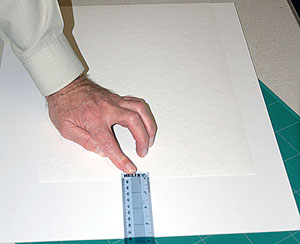
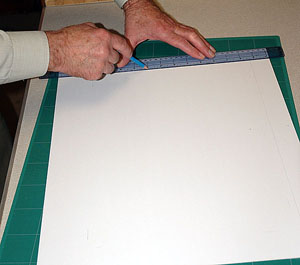
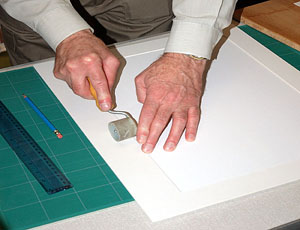
5: Place your overlay card face down with your print also face down lined up with the left hand edge. Measure the distance from the right hand edge of the print to the right hand edge of the mount card. See Fig 03. One half of this measurement will be the width of the borders at the top and to either side of the print. In this case it was
4 inches, allowing for 2 inch borders to either side, and the top. Always make the side and top borders identical with a deeper border at the bottom.
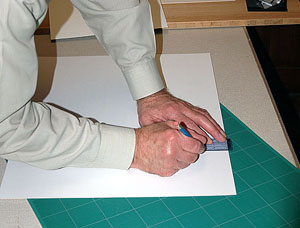
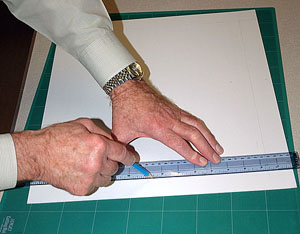
6: Measure 2 inches down from the top of the mount card in 2 places and mark with a dot in pencil, also put one 2 inches in from the left. See Fig 04.
7: Line your print face down with the pencil dots, it should then be 2 inches down and 2 inches in from either side.
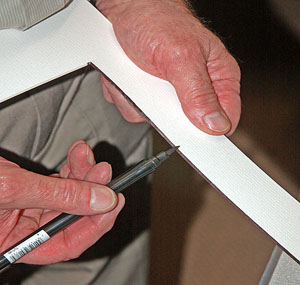
8: Then mark short lines on the back of the overlay card either side of each of the corners of the print. See Figs 05 and 06
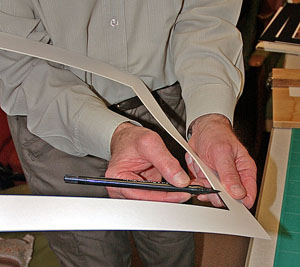
9: Measure out 3/8 ths of an inch from each of the corner lines and mark with a pencil dot. Now join these dots with a continuous pencil line the full width and length of the card. See figs 07 and 08. These will be the guide lines for the bevel cutting.
10: Fig 09 shows the clamp which I made for holding the mount card whilst the bevel cuts are made.
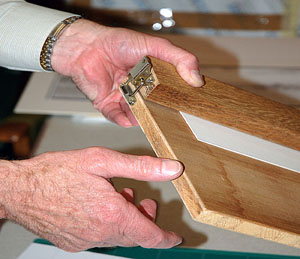
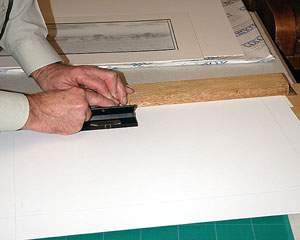
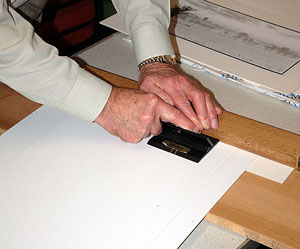
11: Place the mount card in the clamp, lining the pencil lines up with the edge of your cutting guide. Cut the bevels on all four of the lines in accordance with the instructions with your own particular bevel cutter. See Figs 10 and 11.
12: The middle piece should now fall out. See Fig 12. Keep this to one side it will be useful at the gluing stage.
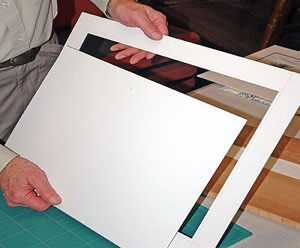
13: Place your cut mount over the white backing sheet, to check that it is all alright.
See Fig 13.
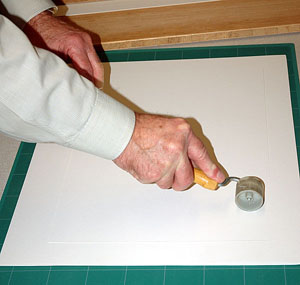
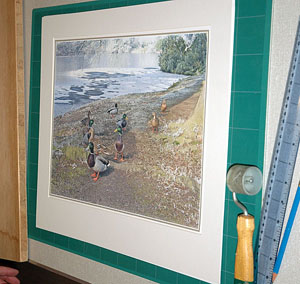
14: Glue the back of the bevel cut mount, I use “3M Photo mount”. Line it up with the backing card and press down. See Fig 14. I then use a wallpaper roller to make sure that the mount is properly fixed. See Fig 15.
15: Spray the back of your print and carefully line it up on the mount inside the bevels. See Fig 16. Now take the piece of card put to one side in Fig 12 and place it over your print. See Fig 17. This will protect the print whilst pressing down.
16: Using the wallpaper roller again, secure your print to the mount. See Fig 18.
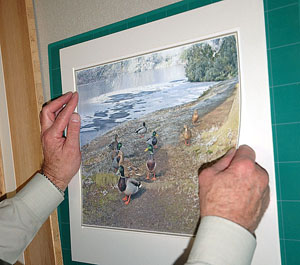
17: Your print should now be firmly fixed in its mount. See Fig 19. On occasions I have coloured the bevels on the mount card before fixing. If you would like to try this you will need a brush pen in the colour of your choice, they are obtainable at “Hobbycraft”. Always apply the pen from the back of the mount to prevent accidentally touching the face of your mount. See Figs 20 and 21.
18: If you would like any further help just ask me at the next club meeting.
Thank you, Brian Sankey.
To download a printable version of this workshop, click on the link below