
Preparation of slides for Pictures to EXE show or AV (by David Hoyle).
In this workshop David explains how to prepare your file directories and slides for a Pictures to EXE show or AV (Audio Visual).
Please note: It would be beneficial to read the complete workshop before you attempt to follow the procedure. If you would like a print out to read, please follow the links at the end of this workshop.
Recommendations for new users
If you have a way that works for you then move on and look at the Galleries.
1.For a simple show using only one format of slide
a.Decide on the format
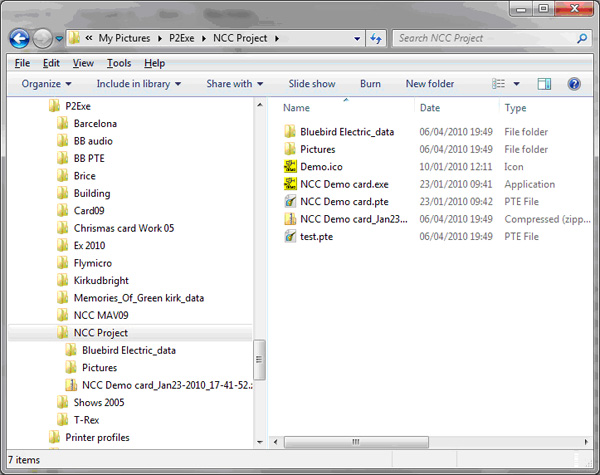
b.Create a project sub directory
c.Create sound and pictures directories
d.Select candidate pictures using Bridge
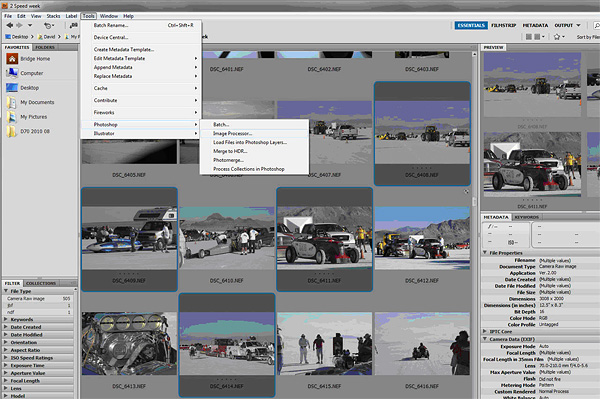
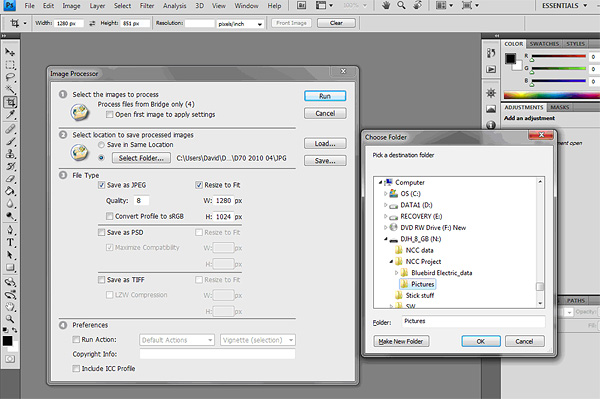
e. Export to your new pictures directory using Image processor
My projector, laptop and the club projector 1280 x 1024 with JPG quality 8 works OK for me. But! Note that 1400 x 1024 is becoming the de facto standard in higher competitions
If you don’t shrink the pictures the computer has a lot of work to do and you risk losing the synchronisation between pictures and sound
f.Adjust pictures as required
g.Fill any unused part of your chosen format with black
h.Sharpen if you wish
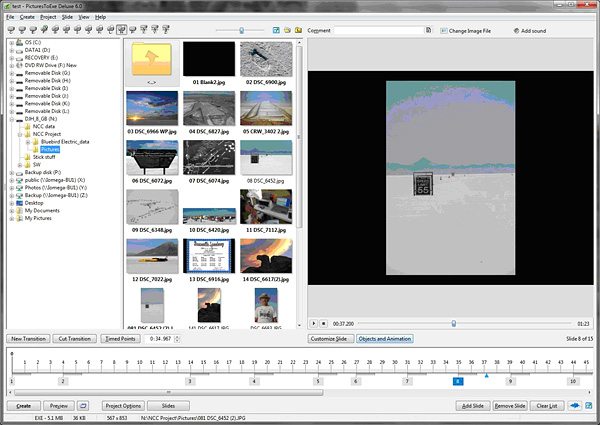
i.Create show
j.Enjoy results
2.If you want to include Vertical and Horizontal versions in your show
Things can get a bit more complicated because of the way P2E handles the screen by default
a.If your chosen format fills the selected screen then the method above works
If not you have two methods
b.Increasing the canvas size and adding black top and bottom will work (see the workshop on preparing DPIs) or
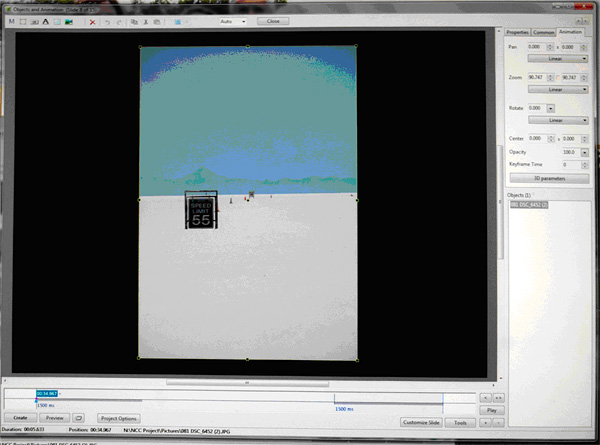
c.Use the objects and animation tool in P2E
d.When you have learnt this you can move on to pan and zoom etc.
For my standard format slides this works
e.Select the vertical slide in the time line
f.Click on Objects and Animation
g.Select the Animation tab
h.Click in the zoom tab and type in the box so you get 90.7%
Adjust the value to suit your show
i.Repeat for the other vertical slides
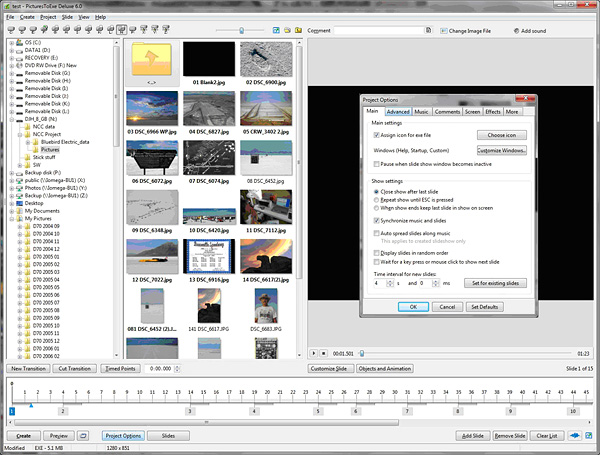
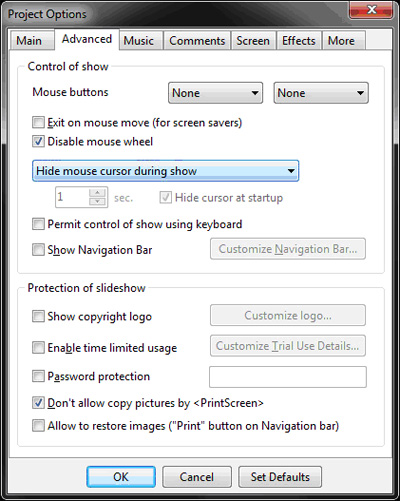
3.General settings for P2E
For the demonstration show the following settings were used from the Project options tab
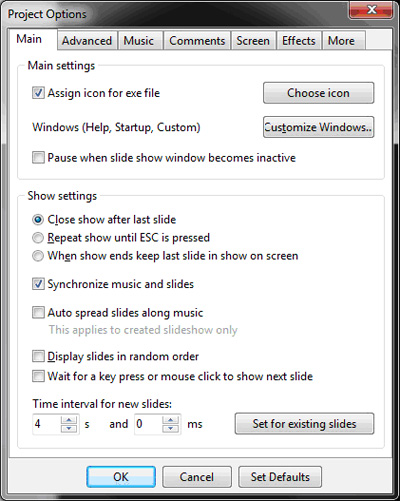

Note that I don’t use the Comments facility for ‘normal’ AV
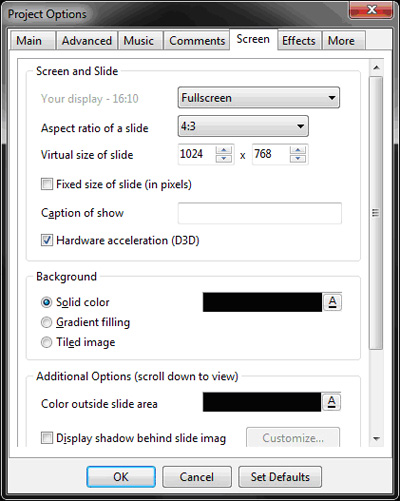
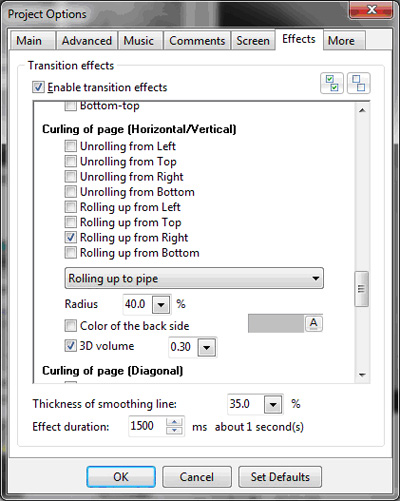
Note that I would usually only use the ‘Fade in/Fade out effect and set the duration to suit the individual change using the ‘Customize Slide’ tab
I don’t change any of the defaults on the ‘More’ tab
To download a printable version of this workshop, click on the links below