
Proofing and File Finishing Action (by Trevor Clowes).
In this workshop Trevor explains how to create a file finishing action, which includes a copyright notice.
Please note: It would be beneficial to read the complete workshop before you attempt to follow the procedure. If you would like a print out to read, please follow the links at the end of this workshop.
1. Introduction
Photoshop Actions are similar to macros in Microsoft Office.
They provide an automated process which can record several functions and when activated the actions will be sequentially applied to one or to a batch of photographic image files.
The following explains the problem areas of image files which are addressed by the File Finishing Action.
2. The Contents of the File Finishing Action
The first action recognizes that image files captured as pixels in a camera or scanned from film are slightly soft. The gentle application of an Unsharp Mask filter pulls the photographs sharpness up. Also included in this action is Fade Unsharp Mask, in the Luminosity Mode. Luminosity in an RGB image is the black, white and gray tones that make up the photograph’s detail. Fading the Unsharp Mask to Luminosity applies selective sharpening only to the details, which is what is normally required.
The second action included is in recognition of the fact that the processor inside a digital camera, integrates the colour in the highlights into RGB (Red, Green, Blue) colours. In the bright highlights the processor has to guess what colour the highlights should be and it often results in aliasing. Strong colours adjacent to the highlight bleed into the highlight, which detracts from the crispness of the image. To counteract this effect the action runs a Gaussian blur filter then fades it to Colour.
The third and last action inserts your personal information and copyright data into the metadata for each image file. It is important to register your ownership of your images, in recognition that the digital age has made it far easier for intellectual property rights to be stolen.
Prior to creating the File Finishing Action, it is necessary to create a Copyright Notice File for inclusion in the Action. Details below.
3. First Task – Produce a Copyright Notice File.
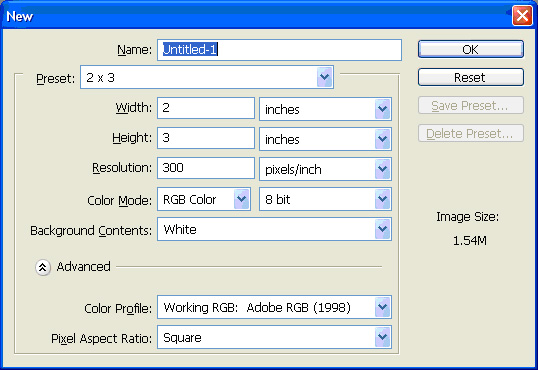
3.1 Choose File>New from the Photoshop menu.
3.2. Choose 2 x 3 in the Preset drop down menu as shown below in figure 1.
3.3. Click OK
3.4. Select File> File Info. The File info dialog opens as shown in Figure 2.
3.5. Choose Status>Copyrighted.
3.6. Enter your copyright information in the Copyright Notice section. If you have a web site enter it in the Copyright Info URL window. The copyright symbol is Alt+0169 (Windows). See Figure 2 below.

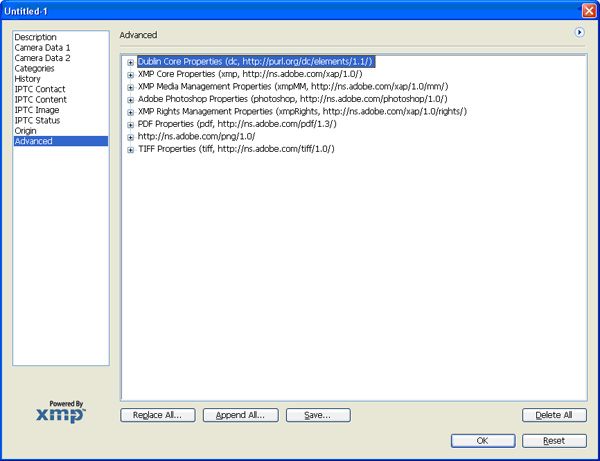
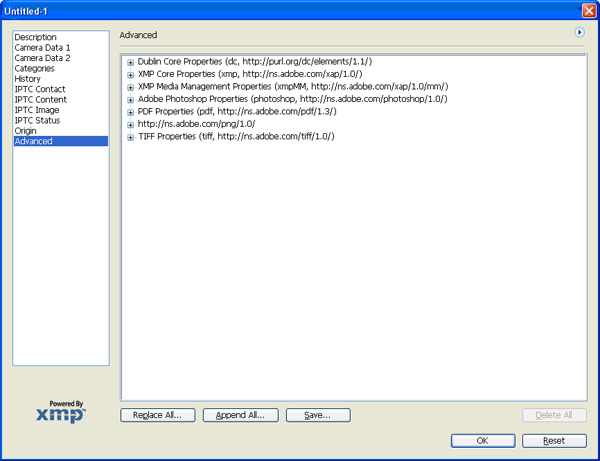
3.7. Click the word Advanced. It’s at the bottom of the left hand column in figure 2. A new section of the File info. Dialog box opens, see Figure 3
3.8. Click the Save button to save the file. The save dialog opens
3.9. Name your file ©2010.xmp (then make a new one next year and name it ©2011.xmp). Save it to a folder in My Pictures. For instance the folder is called “Photo Copyright” in Figure 4 below.

3.10. Click OK in the File Info Window. Notice that the Untitled file header now shows a © symbol Choose File>Close.
3.11. When the Save dialog appears choose Don’t Save
4. Create a Photoshop Action.
4.1. Choose File>New from the Photoshop menu.
4.2. Choose 2 x 3 from the pre-set menu. (Make sure the file’s Colour Mode is RGB
4.3. Click OK.
4.4. Click the Actions tab, which is nested under the History palette.
If your Actions tab is not visible, select Window>Actions from the menu bar.
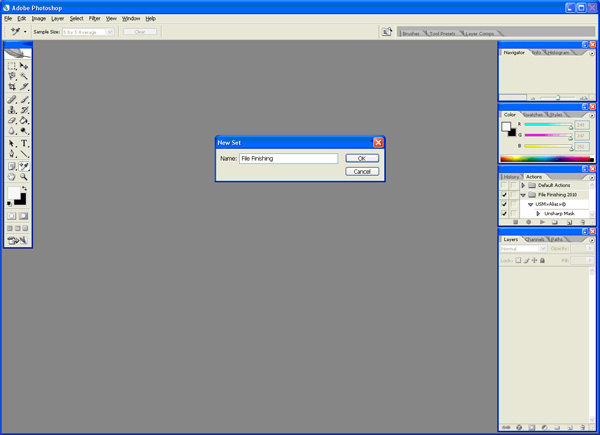
4.5. Click the Create New Set icon at the bottom of the Actions palette.
The icon looks like a folder.
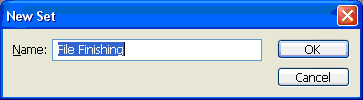
4.6. Name the set File Finishing in the New Set dialog: click OK.
A new set named File Finishing appears in the Actions stack: see Figure 5 & 6.
4.7. Click the Create New Action icon.
It’s the one to the right of the Create New Set icon.
4.8. Name the action USM – Alias – © in the new Action dialog
See Figure 7
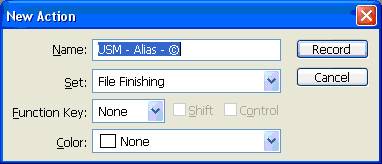
4.9. Click Record to start recording the action.
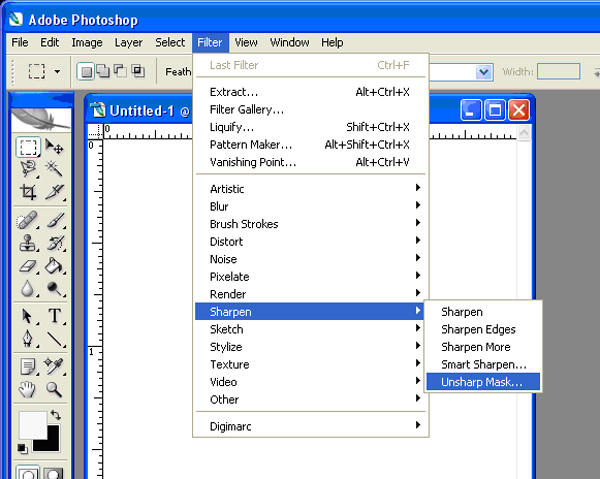
4.10. From the Filter drop down menu select Sharpen>Unsharp Mask to open the filter’s dialog as is done in Figure 8.
4.11. Enter these settings.
• Amount: 100
• Radius: 1
• Threshold: 0
Figure 9 shows these settings.
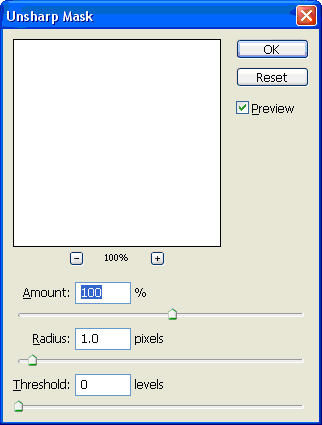
4.12. Click OK.
4.13. Choose Edit>Fade Unsharp Mask.
4.14. In the Mode dialog box choose Luminosity as shown in Figure 10.

4.15. Click OK.
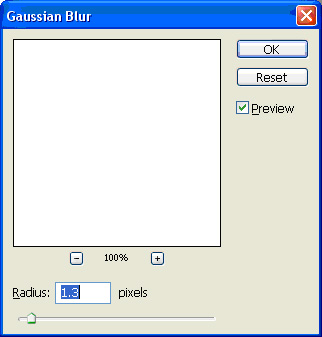
4.16. Choose Filter>Blur>Gaussian Blur.
4.17. Enter 1.3 in the Radius text box and Click OK. As shown in Figure 11.
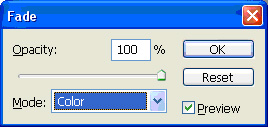
4.18. Choose Edit>Fade Gaussian Blur>Mode>Color – Click OK. As shown in
Figure 12.
4.19. Choose File>File Info>Advanced>Append All, as shown in Figure 13.
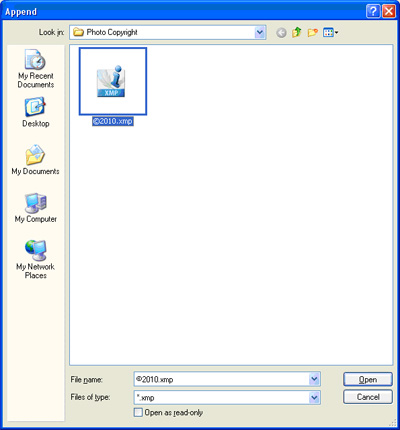
4.20. Navigate to where you saved the copyright ©2010.xmp file, select it then click Open as shown in Figure 14.
4.21. Click OK.
4.22. Click the square next to the red recording button at the bottom of the Actions Palette, which turns blue to stop recording, shown previously in Figure 5. The action is now completed.
4.23. As soon as Photoshop is shut down the Action is saved. However if it is necessary to reload Photoshop at some time, it will be lost unless it is saved in say a folder in my Documents. To do this highlight the file finishing in the Actions palette, click the fly-out menu triangle to the right of the actions palette header and choose Save Action.
4.24. To run the action open an image, from the Actions palette open File Finishing, then click on USM – Alias – ©, click the rightward pointing arrow at the bottom of the Actions palette which is now emboldened. The sequenced steps in the Action will be cycled through and recorded in the History palette as proof of operation.
Using Image Processor it is possible to run File Finishing on all the files on a memory card or in a folder, as a batch process. (This could be a future exercise if requested.)
To download a printable version of this workshop, click on the link below