
Recording an Action to Convert “Landscape” Images For Competitions.
In this workshop, Alison explains how to record an action to convert your landscape images in preparation for competitions.
Please note: It would be beneficial to read the complete workshop before you attempt to follow the procedure. If you would like a print out to read, please follow the links at the end of this workshop.
Please Note: This workshop is for “Landscape” Images Only. If your are producing “Portrait” Images, please follow the workshop on “Recording an Action to Convert Portrait Images for Competitions”
1 Open image in Photoshop
2 Open Actions Palette by clicking on Windows then Actions (or Alt + F9)
3 Click on icon at bottom of Actions Palette which is next to the Delete Bin. Hovering the mouse over the icon shows ‘Create New Action’.
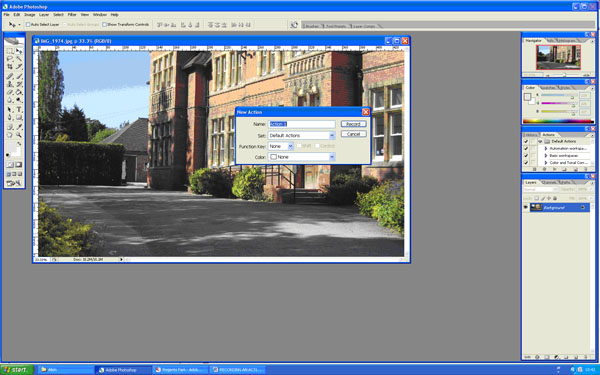
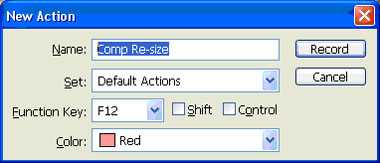
4 ‘New Action Box’ will appear.
Re-name to ‘Comp Resize Landscape’
Assign a Function Key – I use F12
Set colour if wished to identify the action in the list – I have set Red
Click ‘Record’. The red ‘Record’ button will show on the bottom of the Actions Palette
Everything will now be recorded for future use.
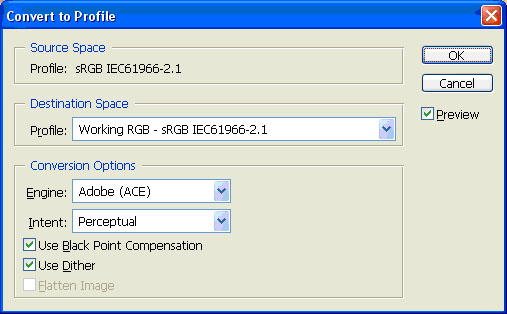
5 Click Edit – Convert to Profile – sRGB and click OK
6 Click on Image – Image Size (Ctrl+Alt+I). In the Pixel Dimensions Section, change the width to 1600. The height will change automatically. Leave the ‘Scale Styles’,’ Constrain Proportions’ and ‘Resample Image’ boxes ticked. Click OK and the image will be resized.
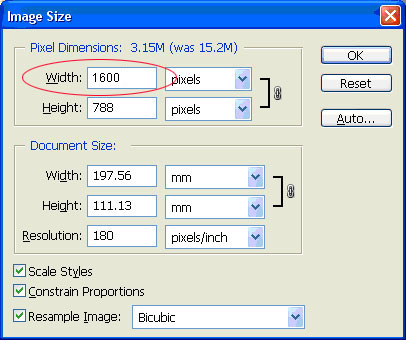
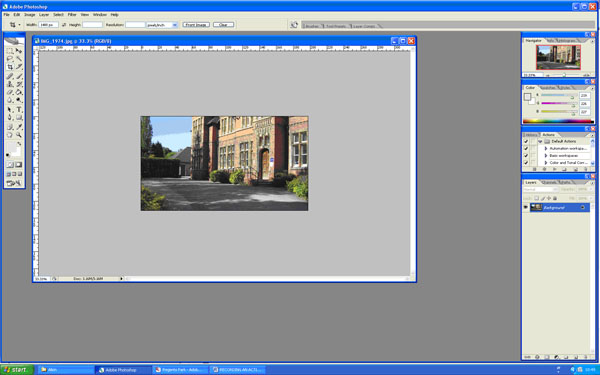
7 The image is now in the correct colour space and is the correct width.
8 To increase the height to 1200 and fill with black (or another colour of your choice), click Image + Canvas Size (Alt+Ctrl+C)
9 In the 9 box diagram leave the centre box selected – the default position
10 Change the box showing cm to pixels and you will see the 1600 measurement in the Width box
11 Click in the Height box and change to 1200 pixels
12 Leave the Relative box unticked
13 Change the Canvas Extension Box to Black. Click OK
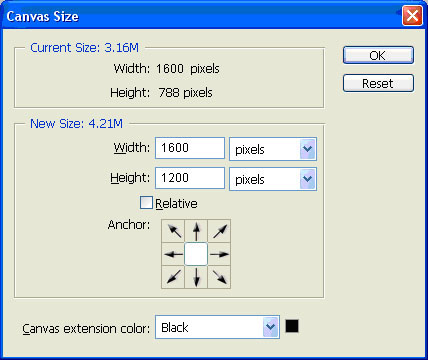
This will fill the spaces at the top and bottom of the image with black to make the size up to 1200.
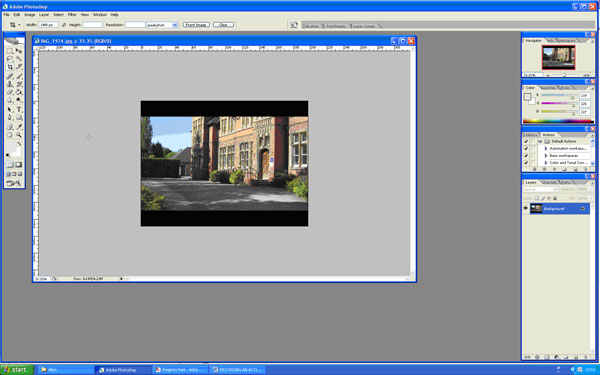
14 Click on the black square at the bottom of the Actions Palette to stop the recording.
15 Save the image in your usual place, renaming it for DiCentra (instructions for saving are on the website).
The Action will be listed in the Actions Palette and when resizing a landscape image for competitions it will only be necessary to click the assigned key (in this case F12).
To download a printable version of this workshop, click on the link below